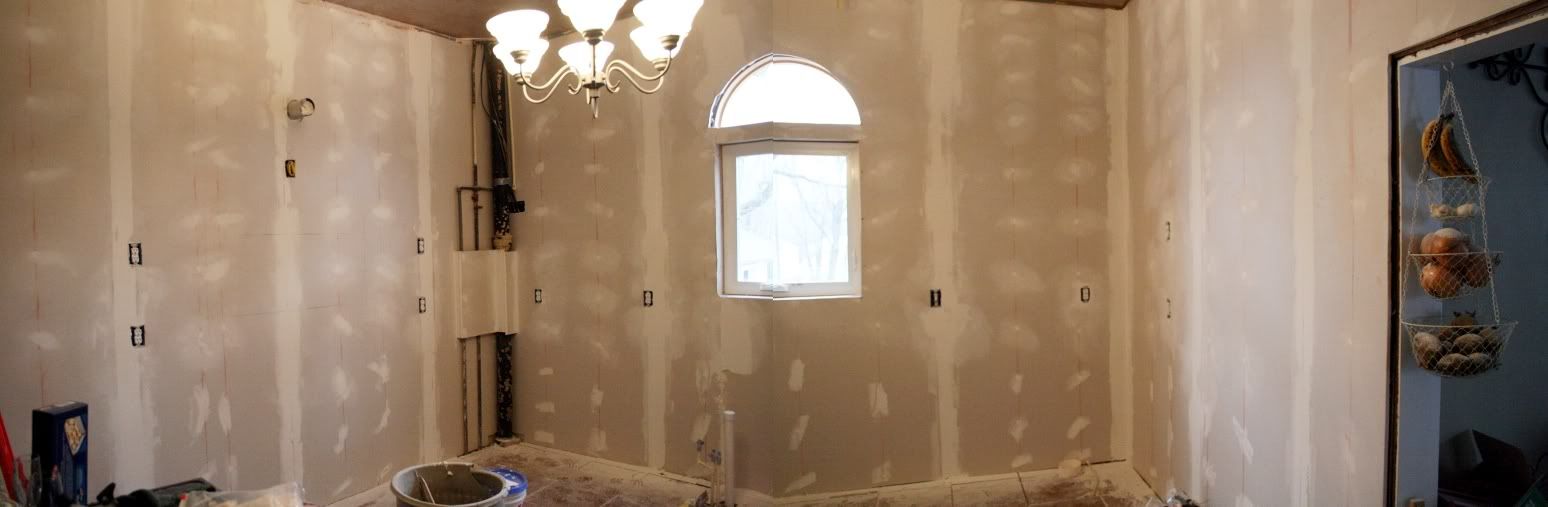
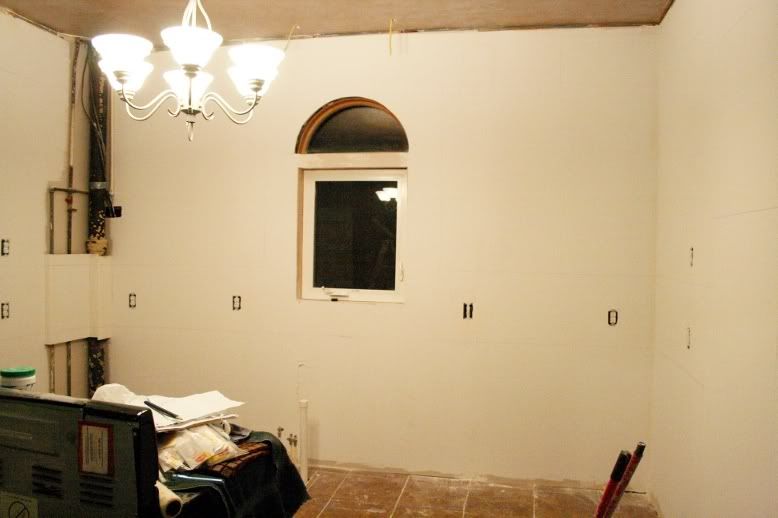
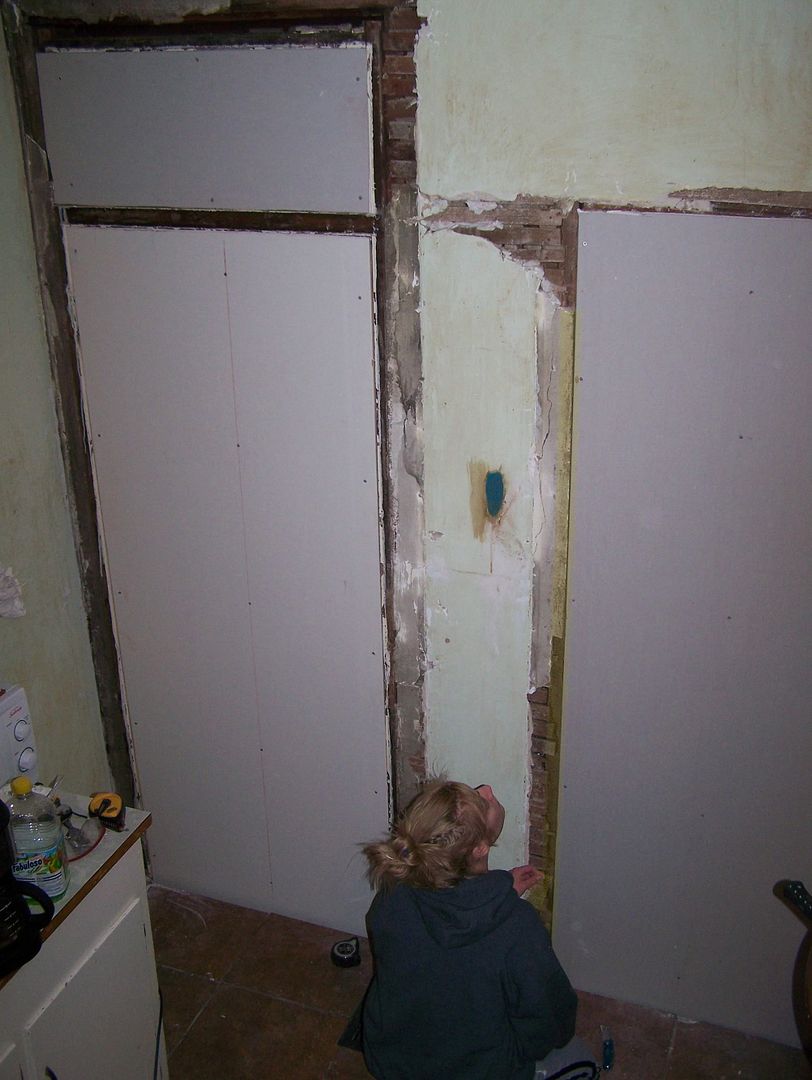
For this portion of the Kitchen Remodel blog series, I'll change the format just a bit. I apologize up front if it's a little more boring than usual, but I intend for it also to be instructional. And we all know how boring instructions can be. Also, because of the volume of photos that I have included, they're considerably small so that they don't distort the blog itself. I don't actually expect you to be able to see them in this size. As with all my blogs, you can click on the photos to bring them up to their original size and then click your browser's back button to return where you left off.
Once again, this isn't following the real life time line in which these events actually took place. I just forgot to write about it until now. It took me two days to build this hood vent and I did it back in January. I think that it was like a collective 6 hours or so that it took from cutting the first board to painting it.
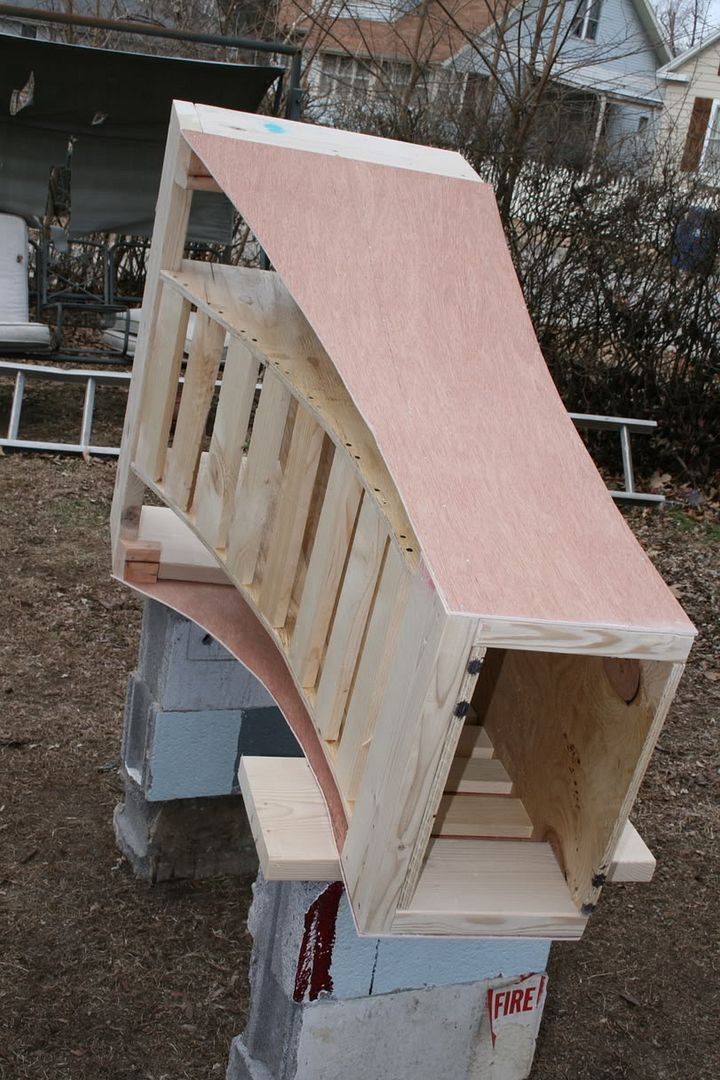
Step #1: Cut out your main frame boards. Notice that I've cut out notches for 2x6 framing along the top. In the same manner, there are notches at the bottom for it to slide in the 2x10 bottom framing. You'll see later. These are tricky because the sides that you cut here are going to determine the slopes of the sides of your hood vent. Now, I wanted the top of my slope to be a straight drop perpendicular from the ceiling and gradually slope out to the corner. If you view this slope (or arc) as simply a part of circle then you can see that there is a mathematical way to draw out the arc. This beats free handing it. Unfortunately, I can't remember much from my high school pre-calculus class and so I cannot for the life of me remember how to determine the radius of a circle when all you have is a couple of known points on said circle. If you know, please comment and enlighten me. So, to draw out the arcs on my board, my wife helped me with the ol' trial and error method. I used a 2x10 placed perpendicular to my plywood board and had a string with my pencil tied to the end of it. My wife held down the string at different distances away from my first point and always gave me just enough slack to hit the first point with the pencil. Then, I'd arc it down towards the other point to see if it hit that point as well. We changed that point many times but finally found it and repeated the step for the other side of the board (measure this distance and write it down for you'll need it again for your front frame boards). Then I used the first board as a template for the second. This is the most complicated step in case you are wondering and it all would've been made much easier if I could remember that math class in which I would secretly complain to myself that "none of this stuff is used in the real world anyway, so I don't know why THEY make us learn it."
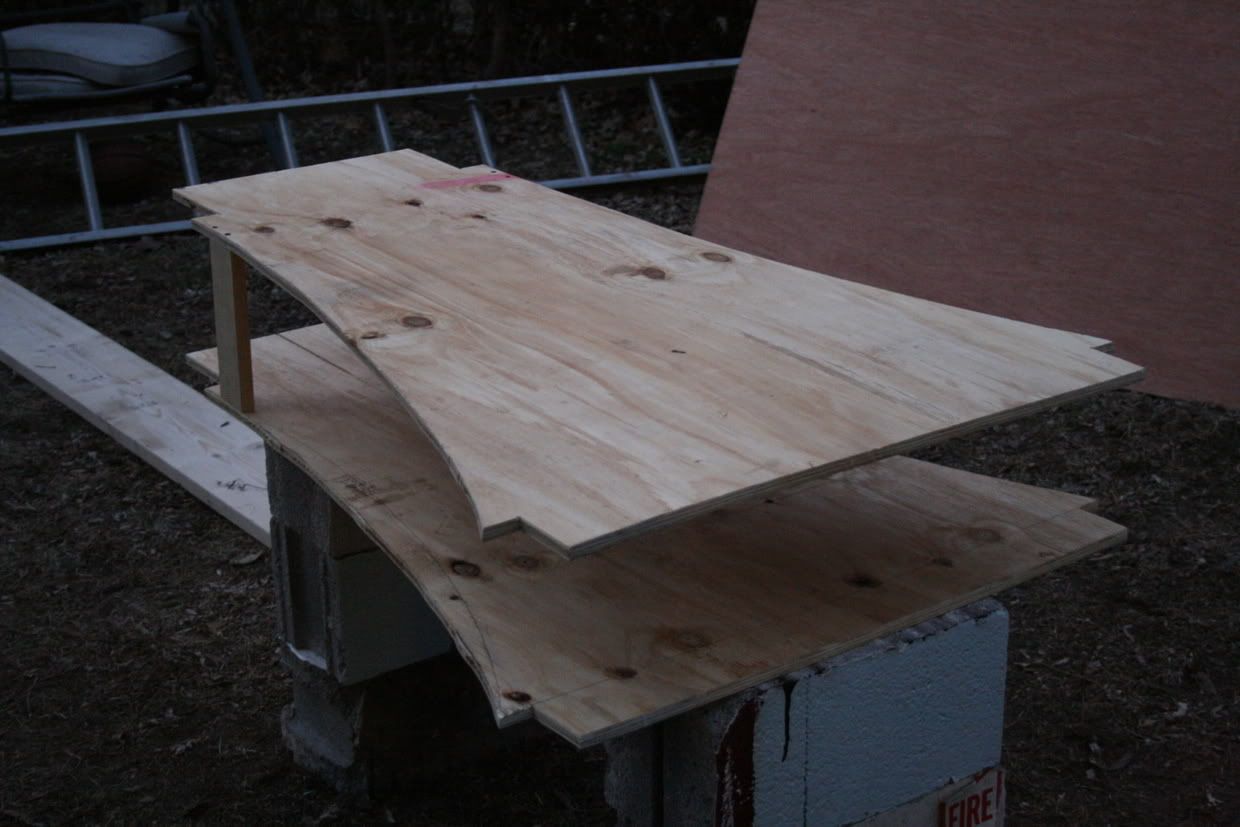
Step #2: Attach your two boards together with a pair of spacer boards. Your spacer board's length + the widths of your plywood frame boards + the width of your top framing = the depth of the top of your hood vent. If that little equation didn't make sense, it will later.

Step #3: Lay the whole thing down and attach the rest of your spacers. These do two things. They lend support to the whole structure, but they also give you something to nail your outside 1/4" plywood to. I believe I just used 1x4 pine lumber for these spacers.
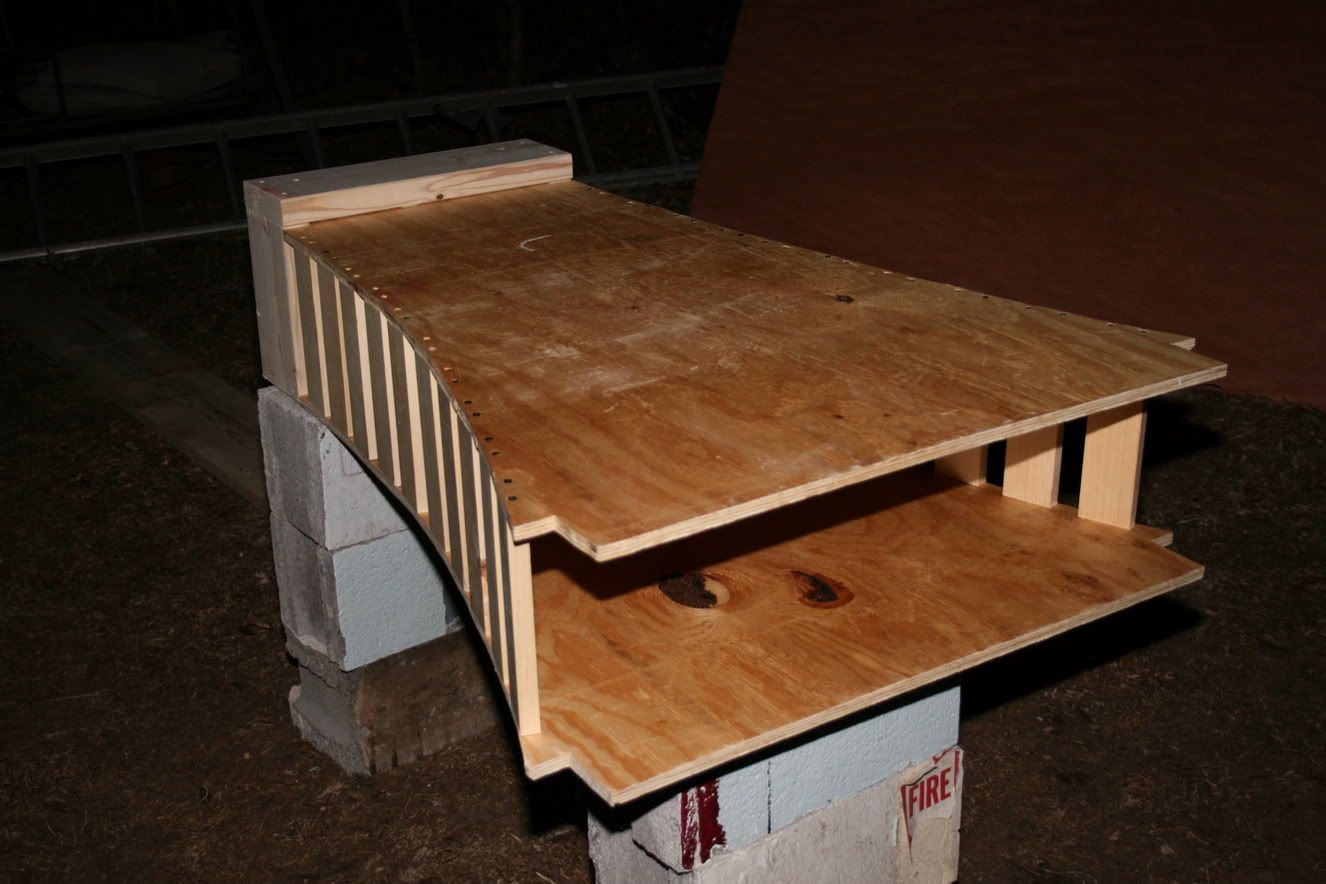
Step #4: Attach the top framing together and then attach it to your hood vent. Again, I used 2x6's here.
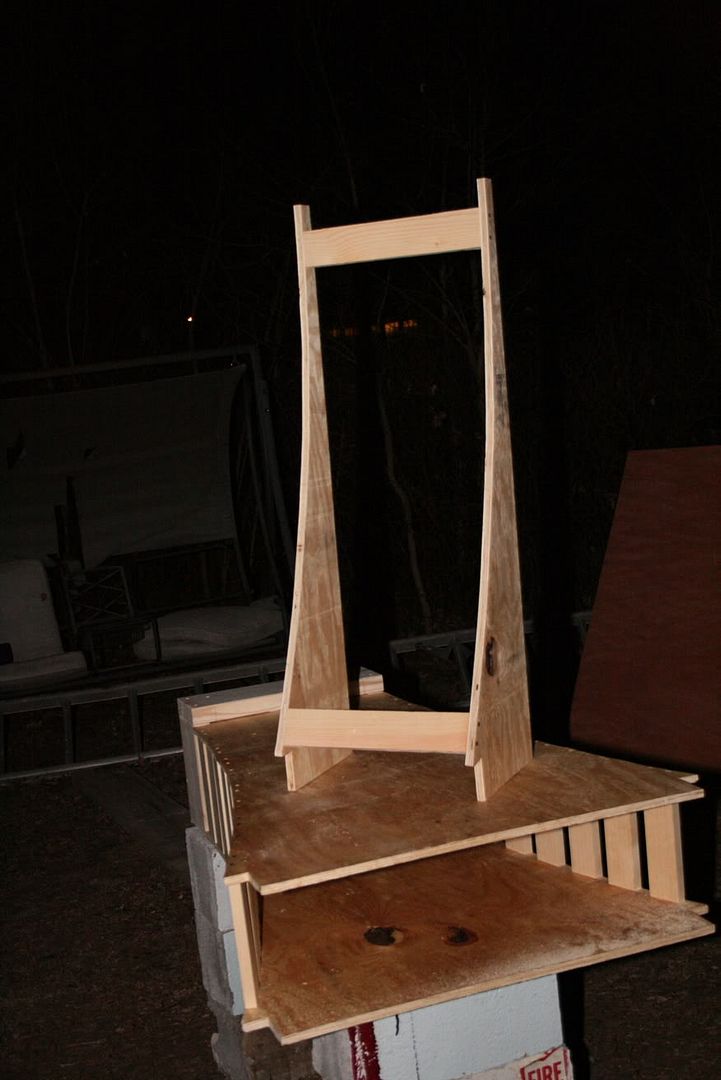
Step #5: Construct your front frame boards. I created the arc the same way as I did the sides using that measurement that I wrote down earlier. Attach them together with spacer boards as wide as you can possibly get them without overlapping at the top.
Step #6: Attach your front frame to the main frame as shown.
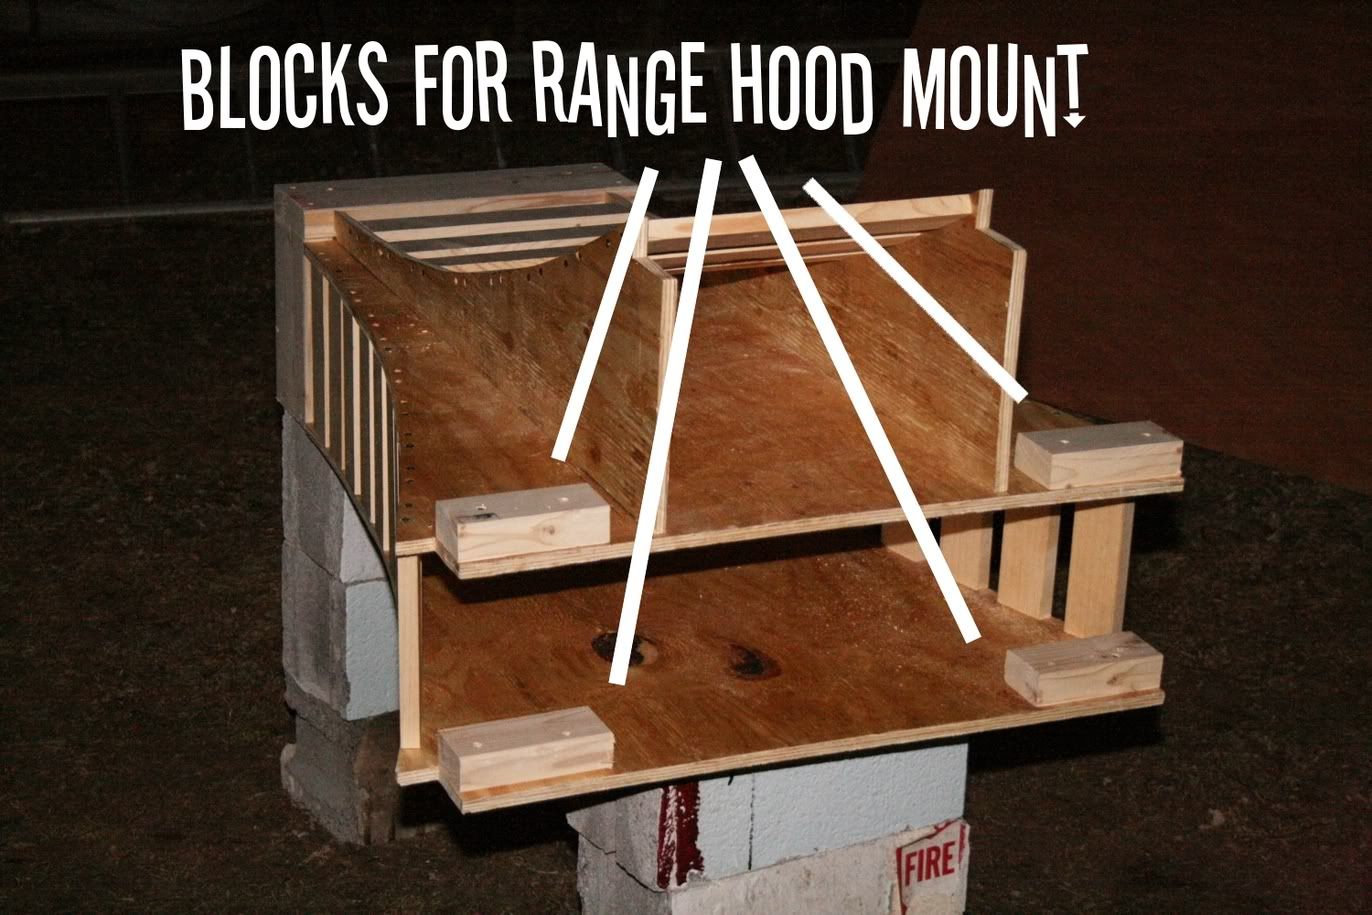
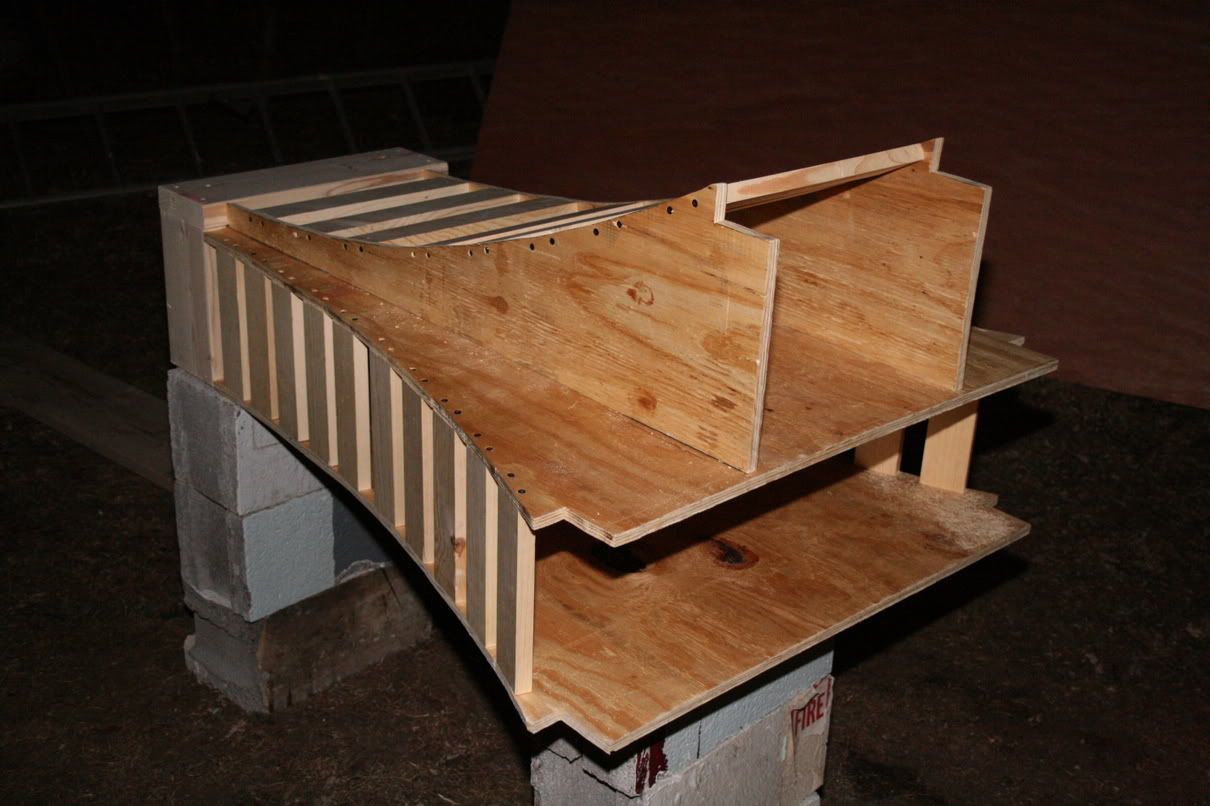
Step #7: I had to attach some 2x4 blocks to the bottom to allow for the standard placement of the range hood mounting screws.
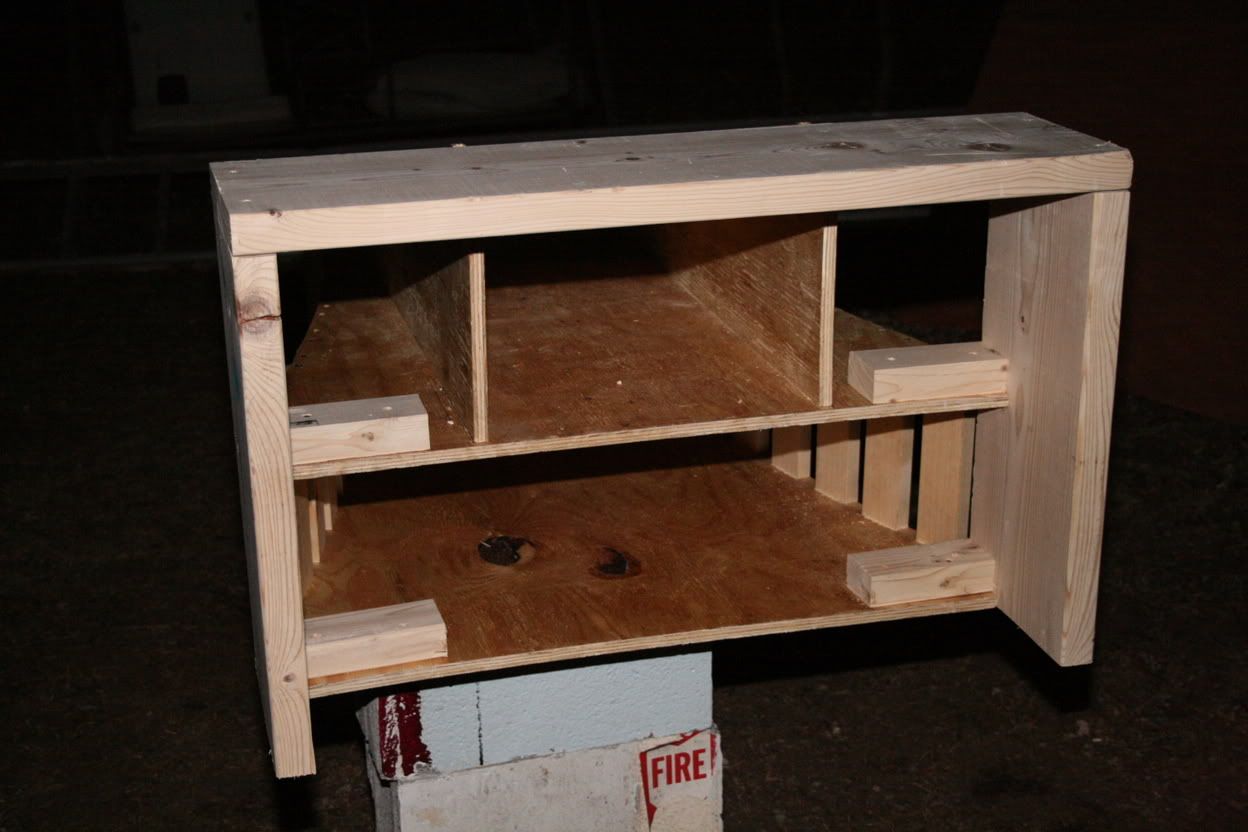
Step #8: Mount your bottom framing. I used 2x10 lumber for this and it worked great however there really is just enough room for my range hood to be installed and then the bottom of the range hood is flush with the bottom of the framing. If you want your range hood to be up in the hood vent more concealed then I suggest using 2x12 lumber instead.
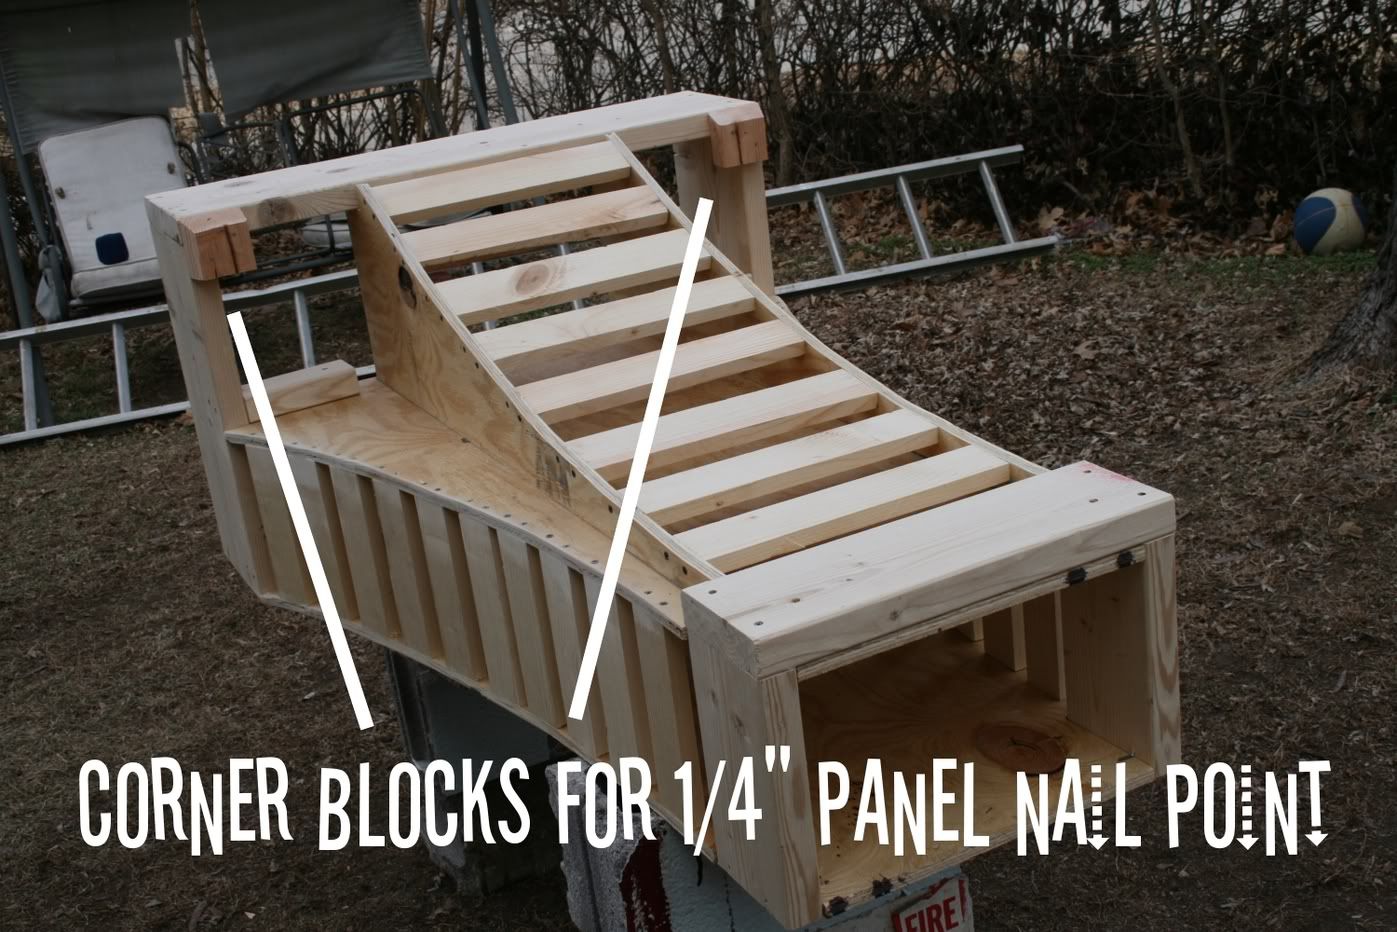
Step #9: Attach some little blocks on the corners that are mitered at an angle so that you'll have something to nail the outside 1/4" panels to.
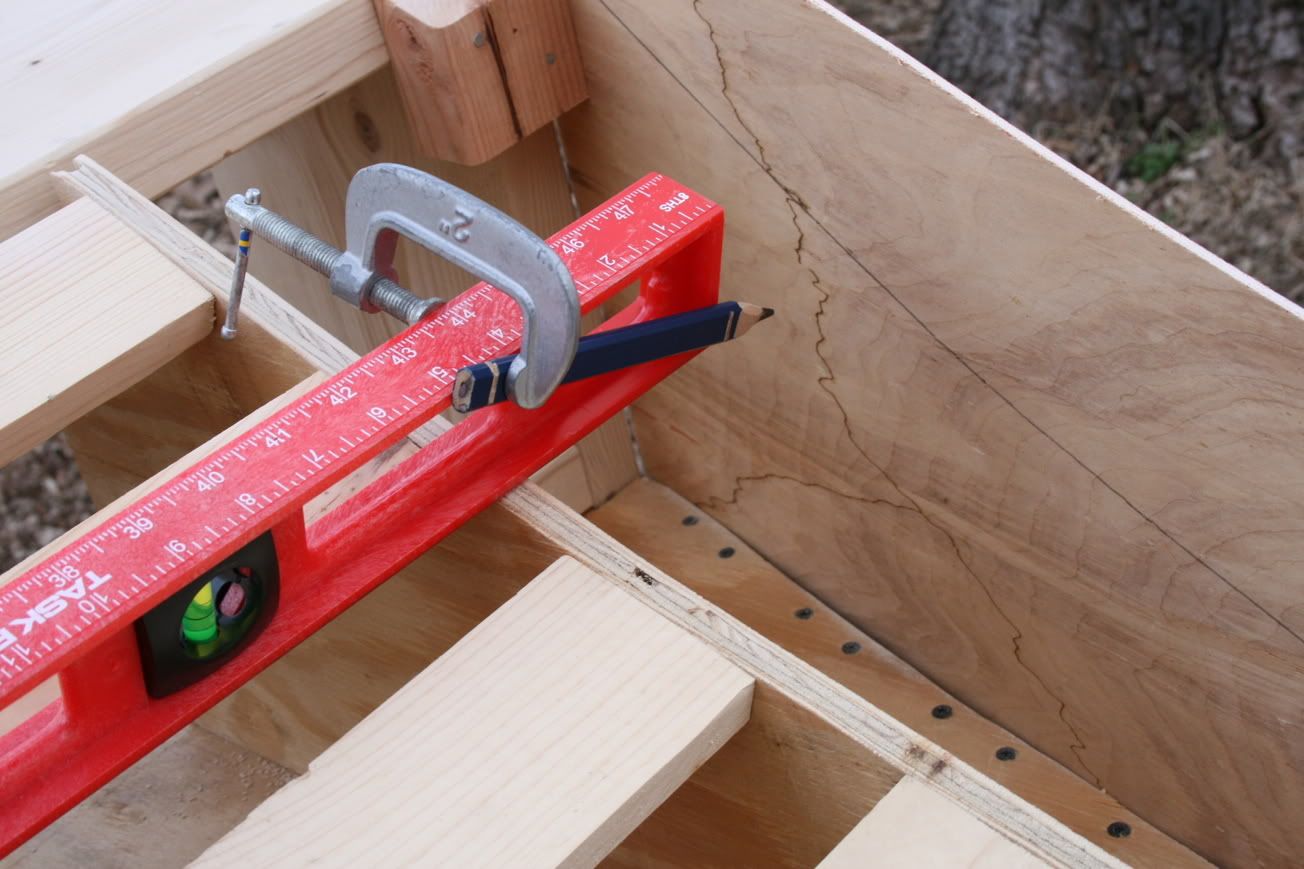
Step #10: Suddenly it's daylight! Yeah, I quit for the night after step #9 and started again here. We're ready to attach our outside plywood pieces. To make that arc cut, I had to temporarily attach my side board with a few nails. Then, I marked where the cut would need to be with my handy-dandy home-made tool as see in this picture. There may be a specific woodworking tool for this kind of thing but I don't own it, so I used what I had which was a 4' level, 2" clamp, and a carpenter's pencil. Make sure, before you cut, that it is right and that your pencil didn't move out of place and mark your board incorrectly. This worked great for me. Just make sure that you cut it slightly wider or bigger than need be. Better too big than too small. You can always shave it down a little if you must.
Step #11: Do the same thing to the opposite side and attach the boards. By the way, I attached these outside boards with some small finishing nails. I didn't do it, but in retrospect, I wish I had used some Liquid Nails along the edges of my frame boards just to ensure that the finishing nails aren't being overworked.
Step #12: Temporarily attach the front board and trace along the sides where it overlaps. Take back off and cut along the lines.
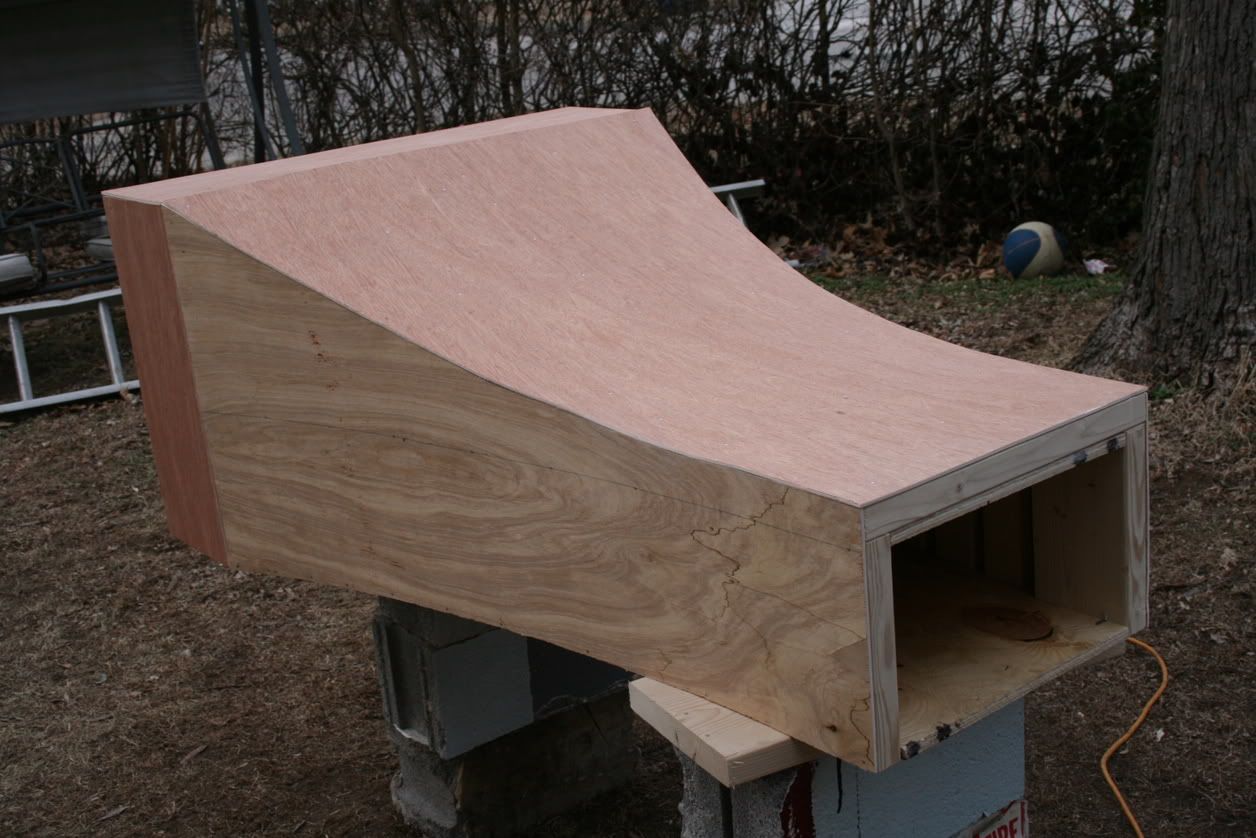
Then, permanently attach front. I sanded down my edges where the two boards meet and used some drywall mud to fill in the edge that showed so that it was smooth. If done correctly with enough patience, you should have a nice slightly rounded outside joint when you're done. Cut and connect the 1/4" plywood pieces to cover the bottom framing.

Step #13: Install your hood vent for proper placement and then again remove it, but leave the screws in for easy installation when the hood vent is fully installed in your kitchen.
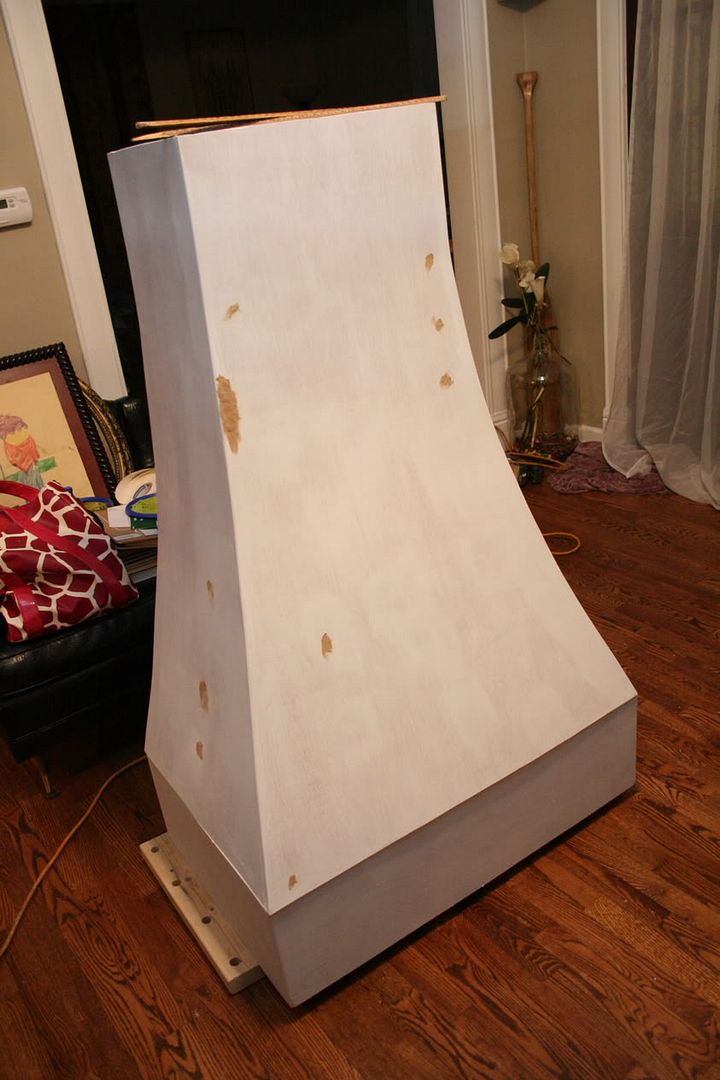
Step #14: Primer your hood vent and use wood filler for any places that need filled to ensure a smooth finish.
Step #15: Paint.
Step #16: I'll be trimming my hood vent to conceal all my joints. Along the bottom, I have some thin shelf trim to hide that corner edge. I have crown for where the bottom flat parts meet the sloped top parts. And, I even have some trim for where the hood vent will meet the ceiling. I also cut another piece of 1/4" plywood that goes on the bottom and trims out the range hood.
Note: I am using a standard range hood for my insert. The only problem with that is that standard range hoods have the light and fan controls on the front display panel. You will have no access to them once the range hood is installed. To accommodate for this customization I drilled a couple holes one for each control knob on the underside of the electric wiring enclosure. I, then, simply attached the controls through these holes rather than the front ones and now they are perfectly accessible once again. You can see my two knobs on the bottom of the range hood in the photo for step #13.
If you would like the plans for this project complete with custom dimensions, you can find me on the corner of Scott and Broadway usually around 2 AM. I'll be wearing a black hooded sweatshirt. The code word for the hood vent plans is "Shabalaba". Bring a lot of cash. Come alone.
Continued on
Part Six.


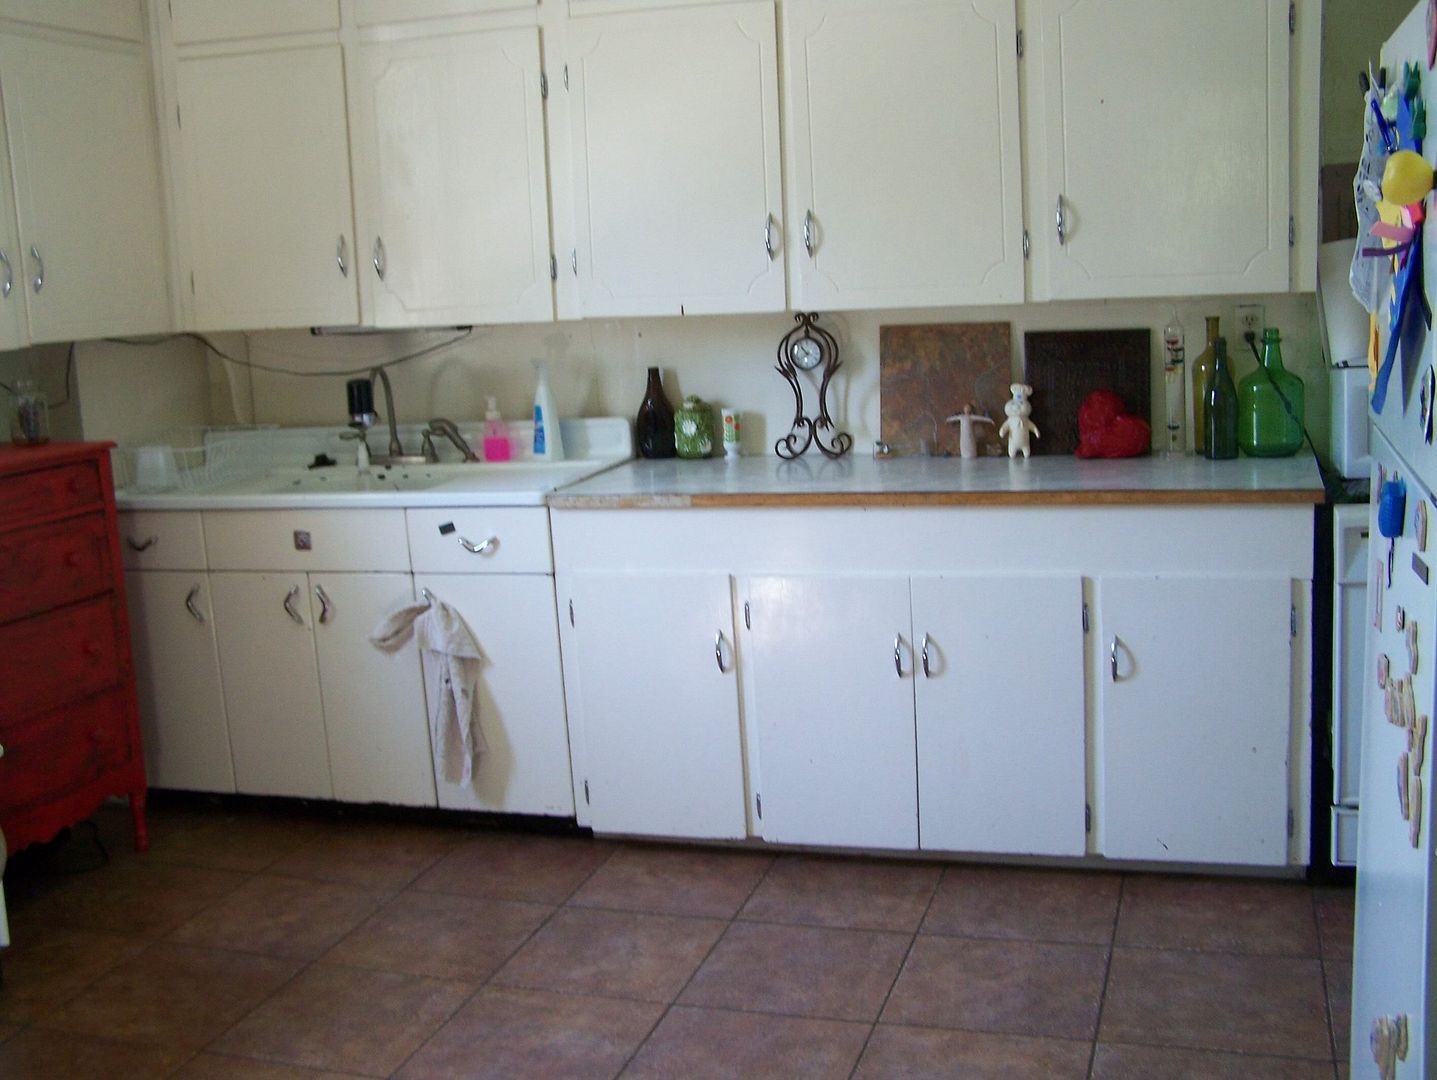
 We left off last time with the highly anticipated arrival of the cabinets that we had custom built. Due to the sheer number of cabinets, the fact that we ordered them all with raised panel doors, and the strange somewhat large custom sizes we had ordered there was a significant delay getting them built. However, once they were finished, the sales guy that we had bought them through was gracious enough to trailer them over to our house in his personal truck. That was a nice touch and very helpful since I was going to have to use the van and it would've probably taken me at least four trips back and forth to get them all.
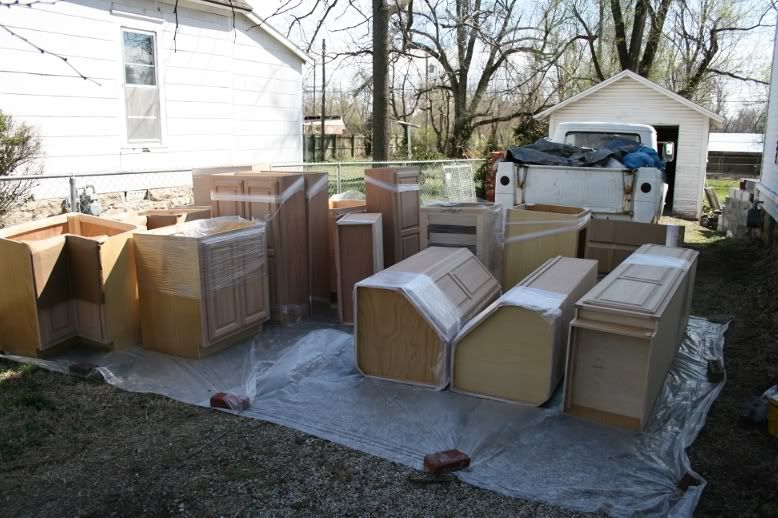
 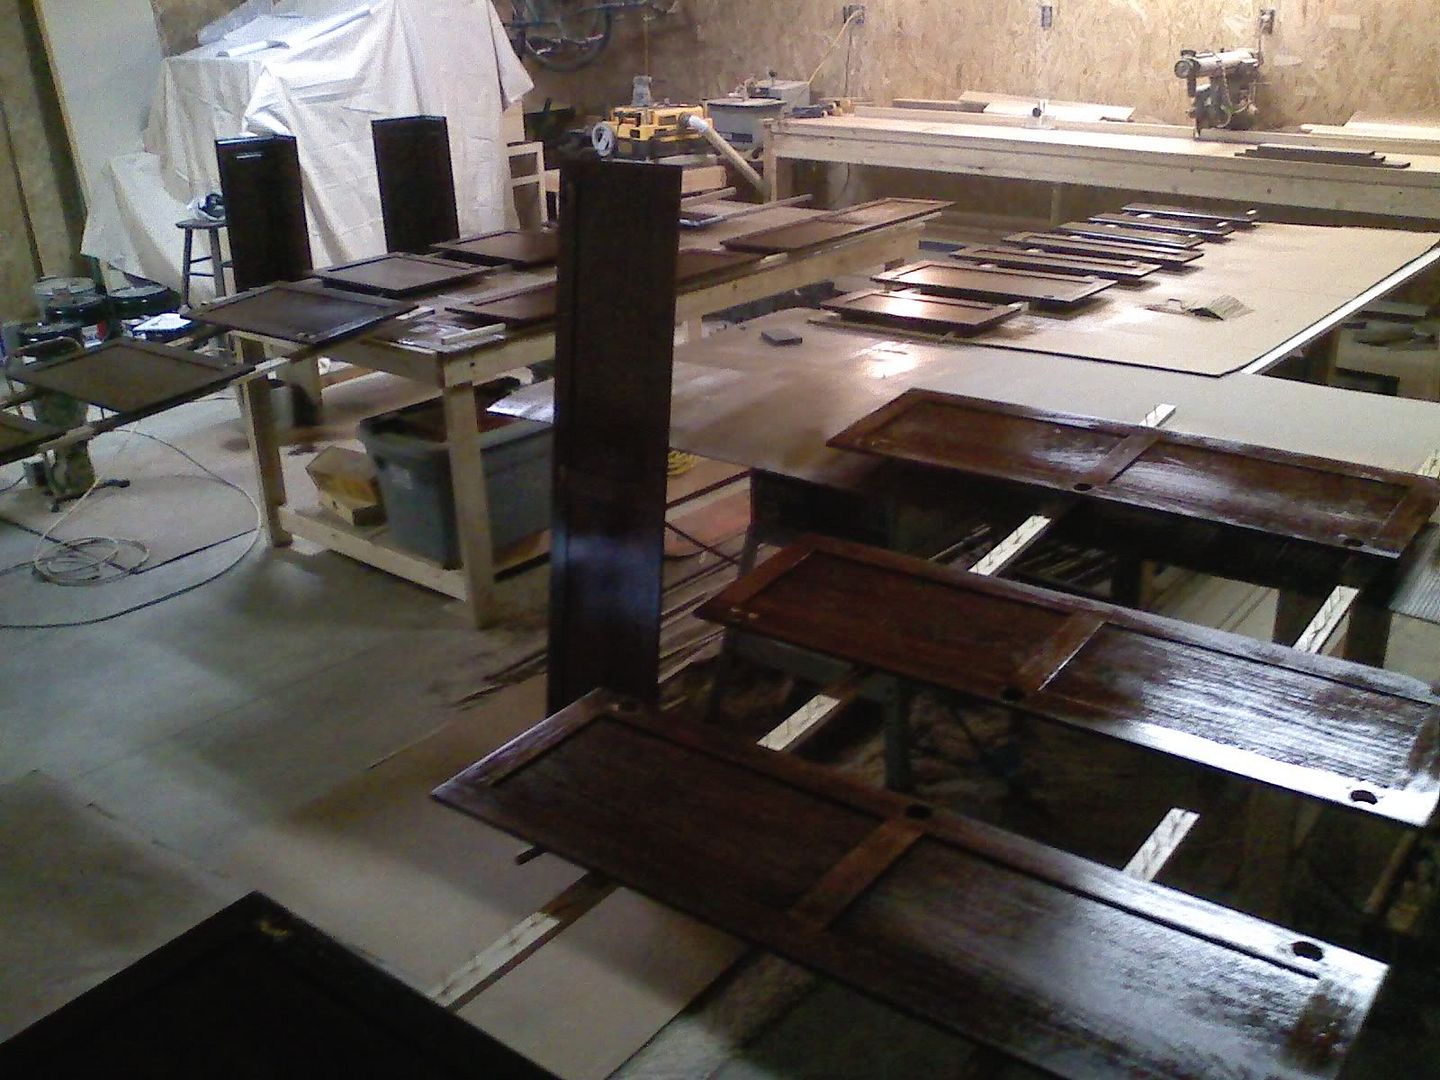 A couple pieces weren't right so he took them back with him to get reworked. We were still going to be waiting on the cabinet that we ordered later for the corner for our coffee station opposite the rest of the cabinets. But, we were very satisfied with their quality and appearance.
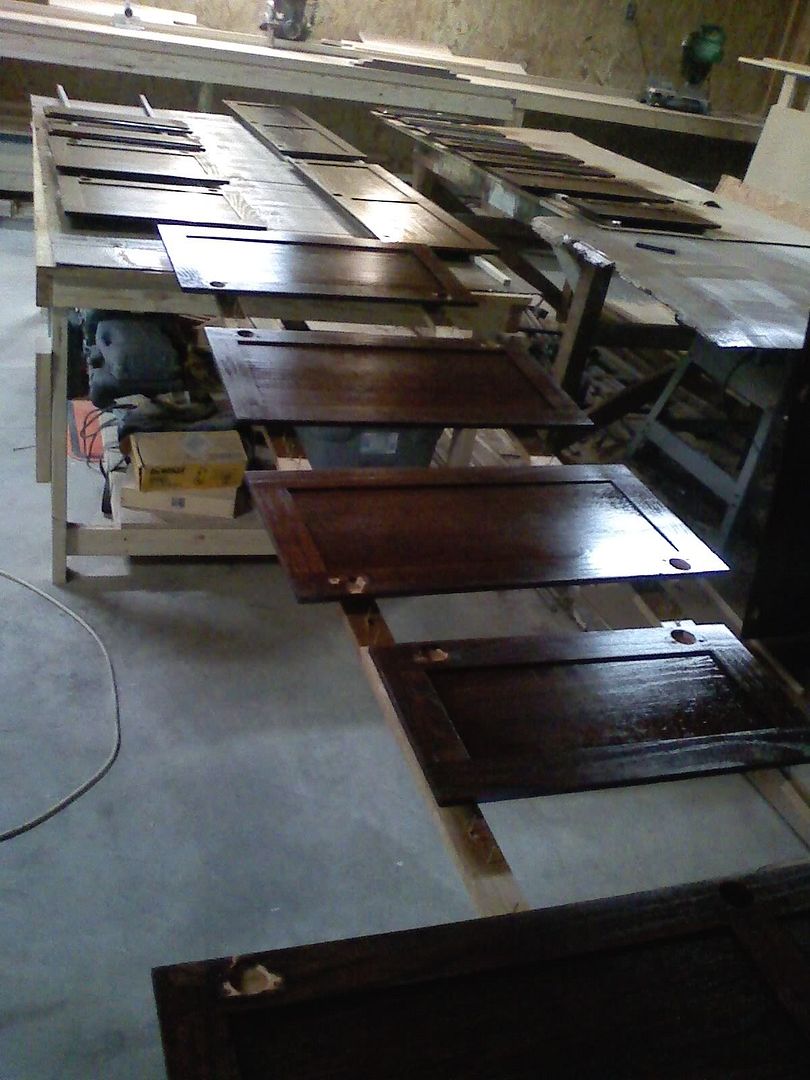
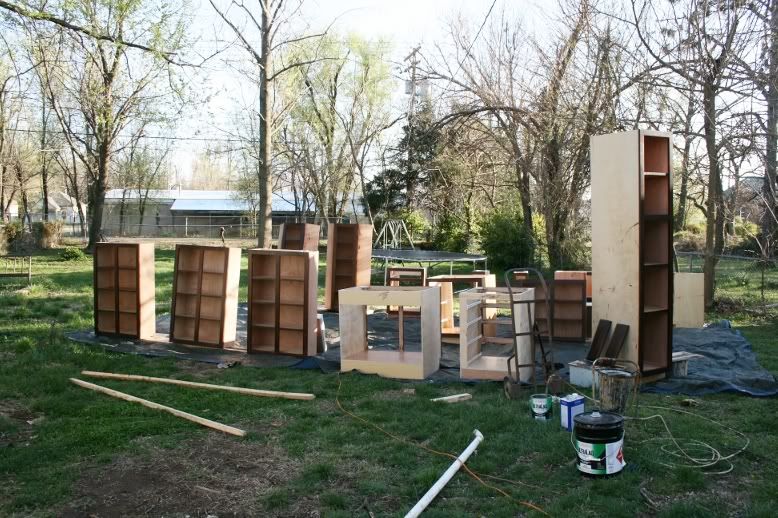 We didn't want to stain or finish the cabinets inside due to the amount of fumes and overspray that would result. So, we bought some plastic sheeting and prepared both the driveway and the garage. I had to pull my '59 Ford out of the garage to allow for inside storage of the cabinets while they dried and for between steps. Jodi did pretty much all the staining work while I did all the finishing. We took all the doors off and bussed them over to Scot's shop to finish them. Scot showed me how it's done and I took off with them. It's a good thing he has a big shop because we were seriously running out of room as we were laying them all out to be sprayed. You can see from the first two photos how many there were.
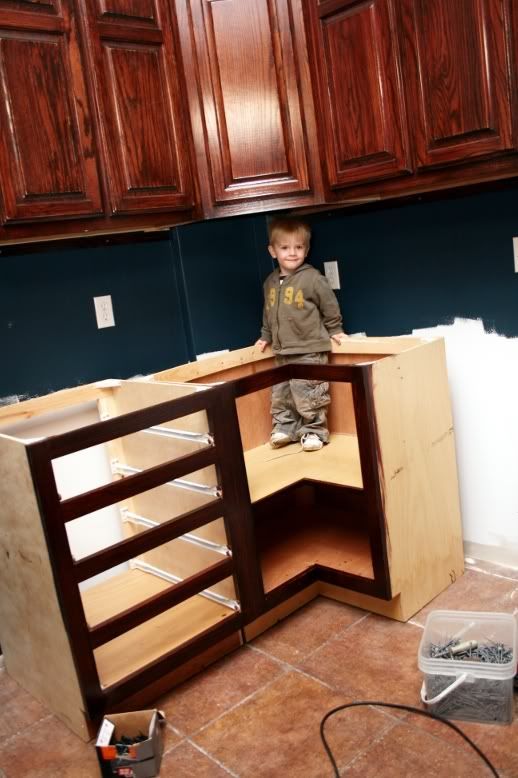
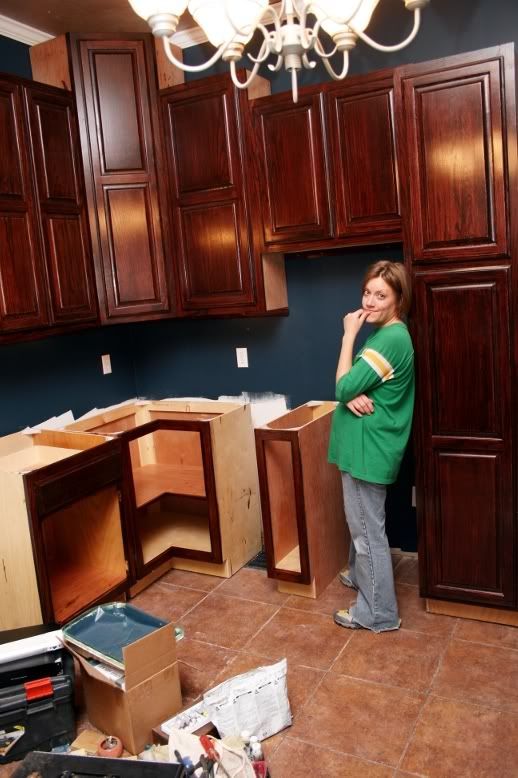
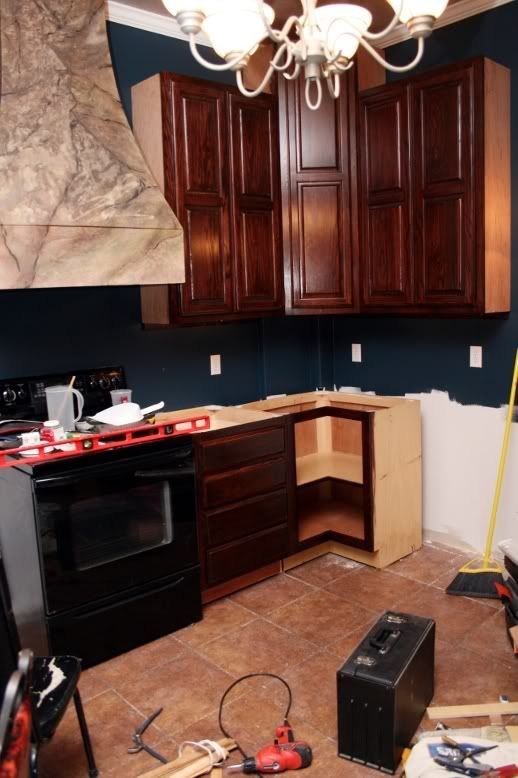
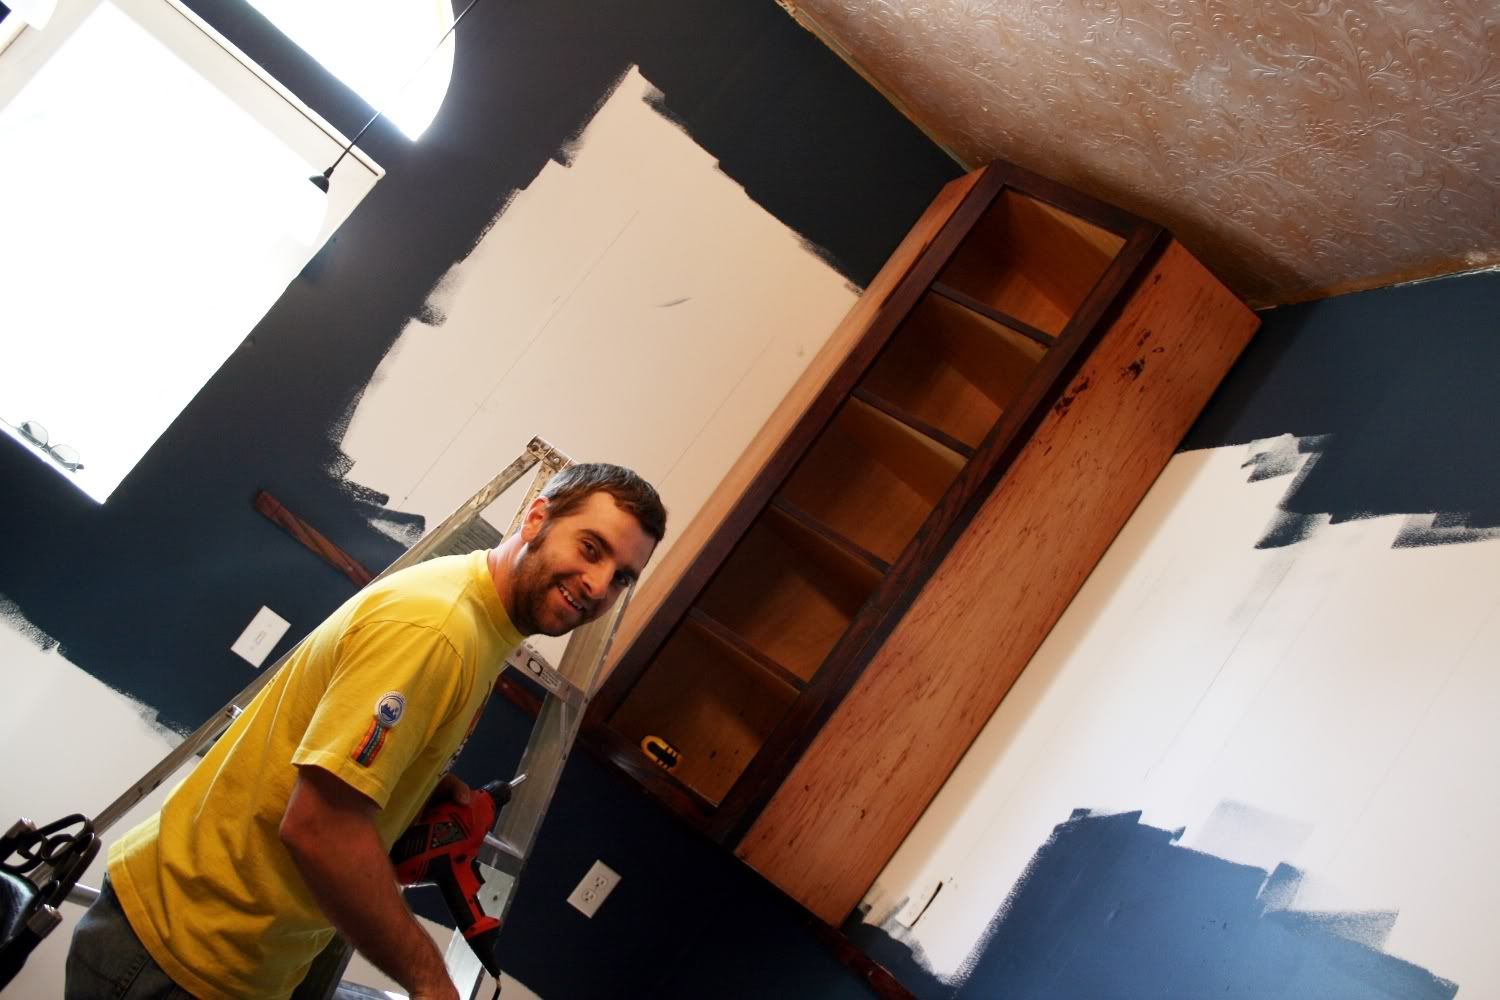 Once everything was stained and the doors were ready to go, we finished all the cabinets without their doors on a tarp out back. Next, came the fun job of hanging them. This photo shows the very first one up. We were like little kids. The next few photos just show it coming together as they were going up. They were definitely turning out as we had hoped. Lyric even stepped up to help as you can see. It was a bit surreal to us, though. After having decided what we wanted, I had drawn out the plans for the kitchen on a 3D program called Google SketchUp. We had become so used to the 3D version of the kitchen that actually seeing it come together made us feel not that we were building a real kitchen but that we were somehow placing ourselves into the 3D model.