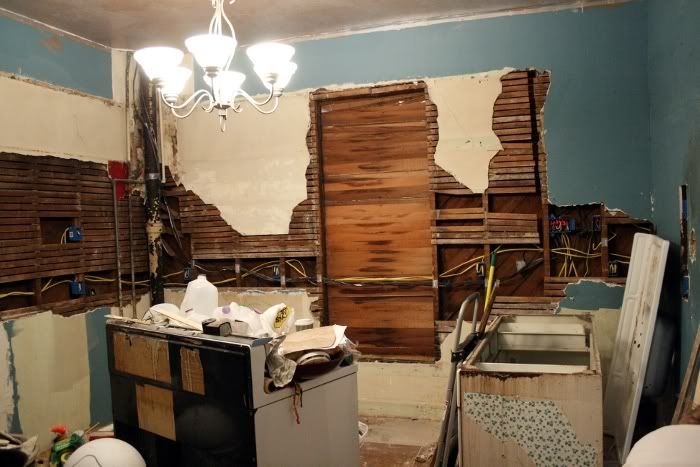
 Alright, in Kitchen Remodel (part four) I left you with this photo showing the removed cabinets and the new wiring in place and ready to go. So, the next step was to make some new walls. Now, if this were an episode of This Old House, as Monica had suggested part five was like, then I'd be nailing up all the lathe boards that I previously removed and mixing up a big pot of plaster. While doing this, I'd be explaining in a thick Boston accent how lathe and plaster was how almost all the interior walls in this part of country were finished.
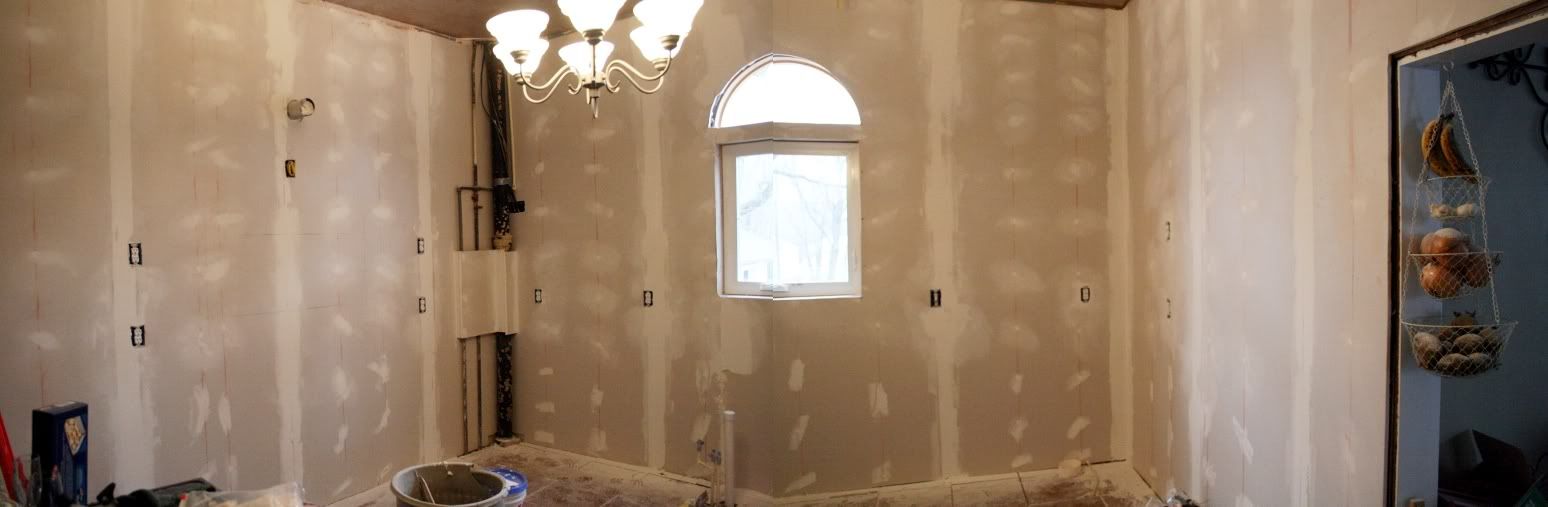 This isn't a cool show like This Old House, though. We just covered up the plaster with a layer of drywall. This makes my walls thicker which makes my room smaller by just over a square foot. Yes, I did the math. It's totally worth it, though. In other parts of the house I was forced to meet new drywall with old plaster walls and it's not easy. Hiding the joint is an art. So, here is a fake panoramic shot of the kitchen (just two photos put together) with the new drywall installed with a layer of mud. Oh yeah, and you can see my newly installed windows that I forgot to mention. I didn't take any photos of that process. Oops.
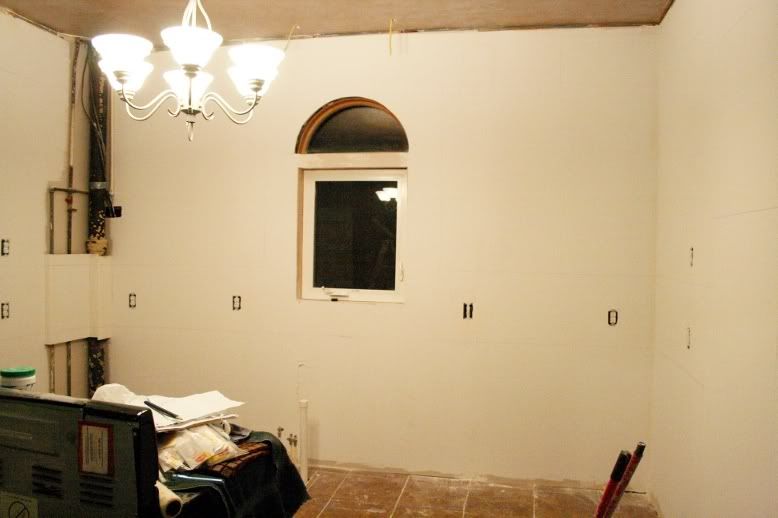
 The next two photos show the walls as they looked once I got done mudding and got the walls primed for paint. This stage was exciting for us because for once it started looking like a new room. We love old houses and all, but we had been anticipating a new kitchen since the day we toured the house for the first time. I remember that day very clearly. And, it's one of my favorite things about my wife. Most women, and most men for that matter, would've walked in this house and almost immediately been turned off by the hideous wallpaper everywhere they looked, or the 1968 curtains that had likely never been washed, or the bathroom that resembled a truck stop's restroom, or the kitchen that had been rained in from broken water pipes in the bathroom above. But, my wife and I saw the same thing. We saw past all the wallpaper, dirt, and work that it would take straight through to the finished product.
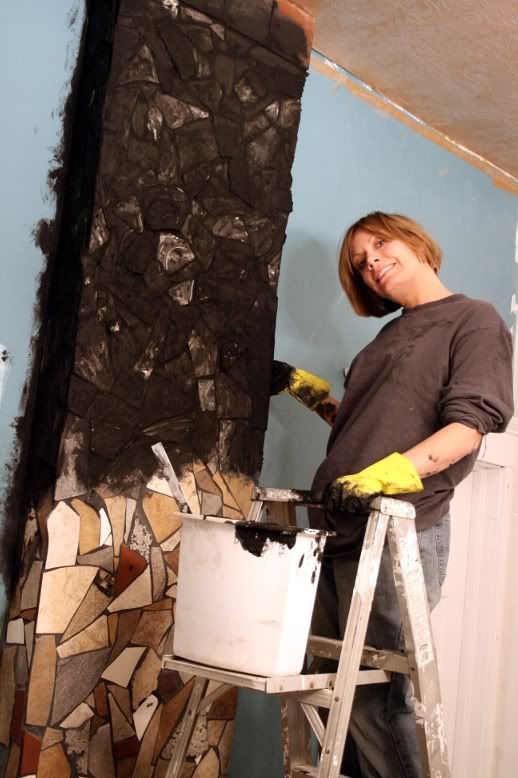 This photo is slightly off subject, but I forgot to add this one in when I was talking about the chimney a week ago. We used black grout upstairs for the bathroom tile, so we were prepared mentally for this mess. If you've ever grouted with black grout then you know, too. It's terrible. It absolutely will ruin your clothes, any towels or rags you use, the bucket, your gloves, and even your hands inside the gloves. Jodi was sportin' black hands for a week after this. Luckily for me, I managed to stay out of this project somehow. All I did was hold the ladder a few times. Cake job.
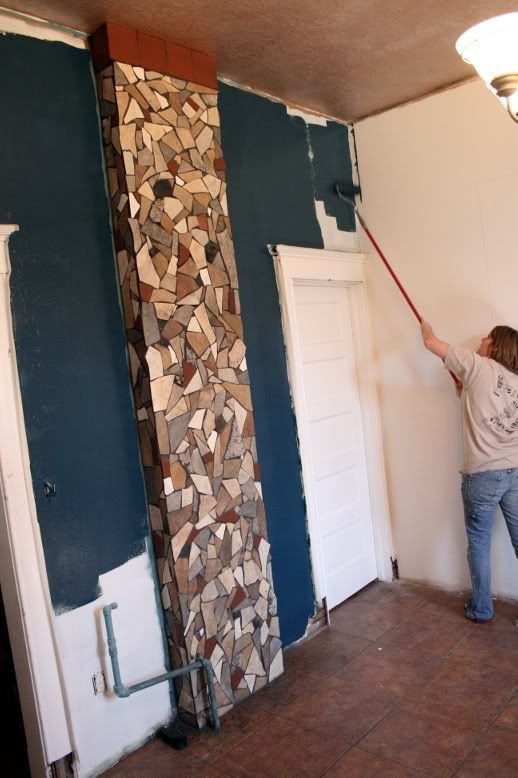
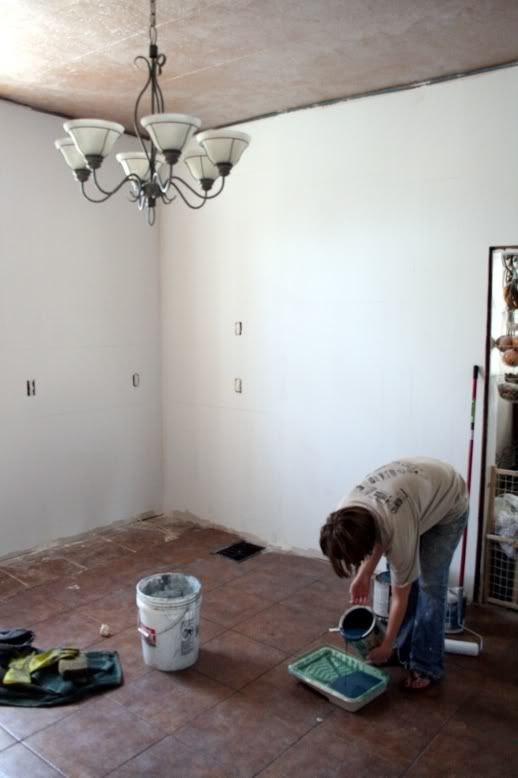
 The next two photos show the walls as they were being painted. I drew out the locations of the cabinets on the wall and Jodi didn't waste paint for those areas. We only bought one gallon and we wanted plenty for touch up. The color was achieved by taking in one of Jodi's shoes and having Lowe's scan the color. We were unsure of how well they'd be able to match it, but the guy got it perfectly. He even seemed genuinely surprised at his own work. We love the color, too. In the daylight hours, you can see the subtle green tones pop out and at night it turns a very rich blue.
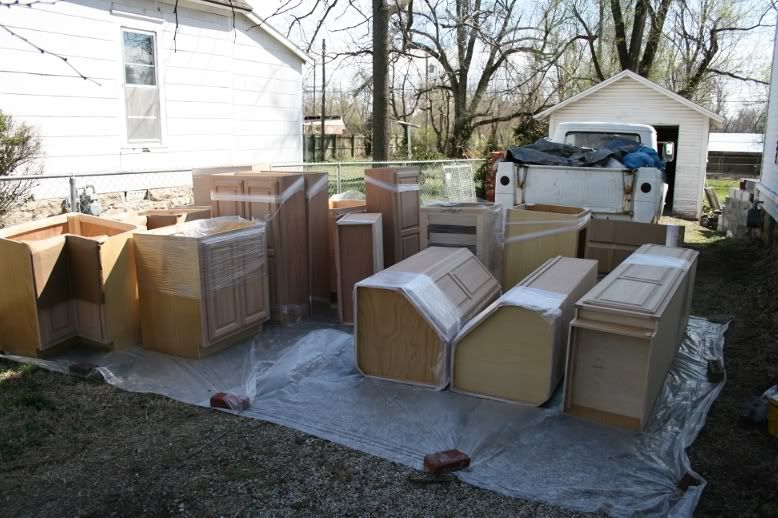 Then, the moment we had been waiting for... The cabinets have arrived!! Because they were so behind schedule the guy brought them to my house which was nice since that wasn't in the deal or anything. We got them all unloaded and had to send one back to be reworked that wasn't right and we were still missing the one for the corner coffee station. But, they were here! What a good day that was. Stay tuned for the next steps because they're the ones that we get to see everything come together.
Continued on Part Seven.


Profile

- Levi Felton
- I'm difficult to explain, but I will attempt. I am a fantastic husband, father, and employee. I have an amazing array of talents. I never stop leaving others in awe with my actions. I love my life, because my life is so great that it's virtually impossible not to love it. Finally, I also have a fair amount of self esteem. And people say that I'm often sarcastic but I don't know why.
0 comments:
Post a Comment