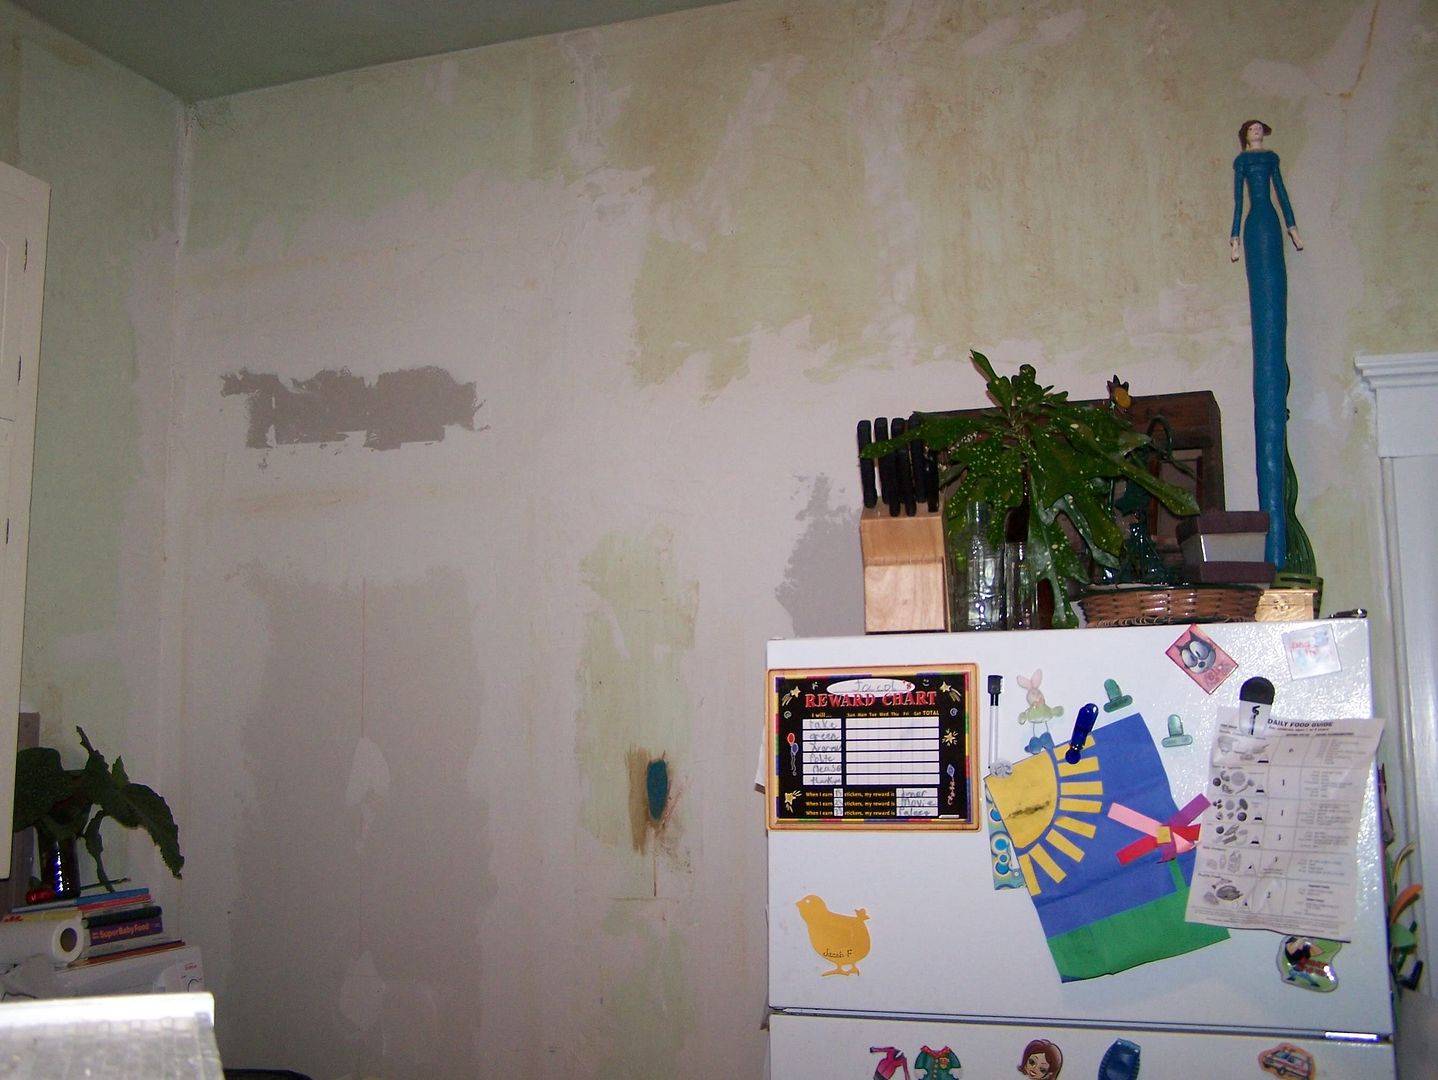
So far for the kitchen renovations blogs I've covered the tiling of the floor, the removal of wallpaper, and the enclosing of two unnecessary doorways and one window. I also covered the drywalling and texturing of the ceiling in a previous blog a few months ago under the title 'Ceiling' is a Funny Word.  Today, I'll show you the chimney and the pot rack. The first photo here shows the chimney as it looked after the removal of the wallpaper and after we primered the rest of the walls. One original thought we had was to tear away at the plaster and expose the brick underneath but to do it only in sections. We've seen this in a multitude of places and I always have liked the old effect that it gives with the multiple mediums. However, I drove the claw end of the hammer into the plaster over and over again until I finally started to see brick. It was not an easy process and it would have taken forever to get it all cleaned off in sections. So, we scrapped that idea in favor of having Jodi tile it with our wide selection of broken tile.
I was glad to finally have a use for this broken tile as we had moved it three times. If you've ever had to move large amounts of tile, you know that it's no fun. Add to that that the tile was broken already, so it's foreseen value was easy to be seen as zero. The tile came from a flooring store on West Battlefield. We asked them to toss their broken tile into a crate that we provided instead of tossing it into the dumpster. They agreed and said that they would call when it was full. In no time, they called and luckily they were gracious enough to use the forklift to pick up the crate and set it into the back of my truck. As much as my truck audibly contested the tiles placement it still managed to get it home alright. That was when we lived in an apartment. We moved from there into a house and painstakingly moved the tile again, but without the assistance of a forklift this time. We sat on it the entire time we lived there and then packed it up again for the trip to our current home. The guys helping us move were none too happy about the prospect of possibly throwing out there backs for a bunch of seemingly useless and extremely heavy buckets of what most people would consider garbage.

 Despite this hardship that the tile burdened us with over a couple years we still managed to hold on to it amidst the laughter of some. In the second photo you can see Jodi's start on tiling up the side of the chimney. I still wasn't sure about the whole idea being a good one until this point. Once this small section came together I could finally see what Jodi had had in her head for some time. You can also see the country blue walls that we tried out but quickly discovered was not the color we were looking for.
 In the next photo you can see the finished product with the black grout. After that is the pot rack that we built. Never mind the half-way done chimney tile project behind it. Apparently, my story blogging isn't always done on a linear time line. Anyway, we forgot to take photos of it during the building process so I only have the finished product photo. It's simply made out of dowel rods, 2x4's, some scrap 1/4" plywood, and S-hooks. It was cheaper to build this than to purchase one. The biggest benefit to building it, though, was having the ability to move the hooks. Everyone I saw in stores and online were seriously lacking in both the quantity of hooks and their ability to move them around on the frame.
 Stay tuned for the next installment of "Kitchen Remodel" where I'll be covering DEMOLITION (spoken like a tractor pull radio advertising announcer), window installation, wiring, plumbing, and drywalling. If that will all fit in one blog. Ciao.
Continued on Part Four.
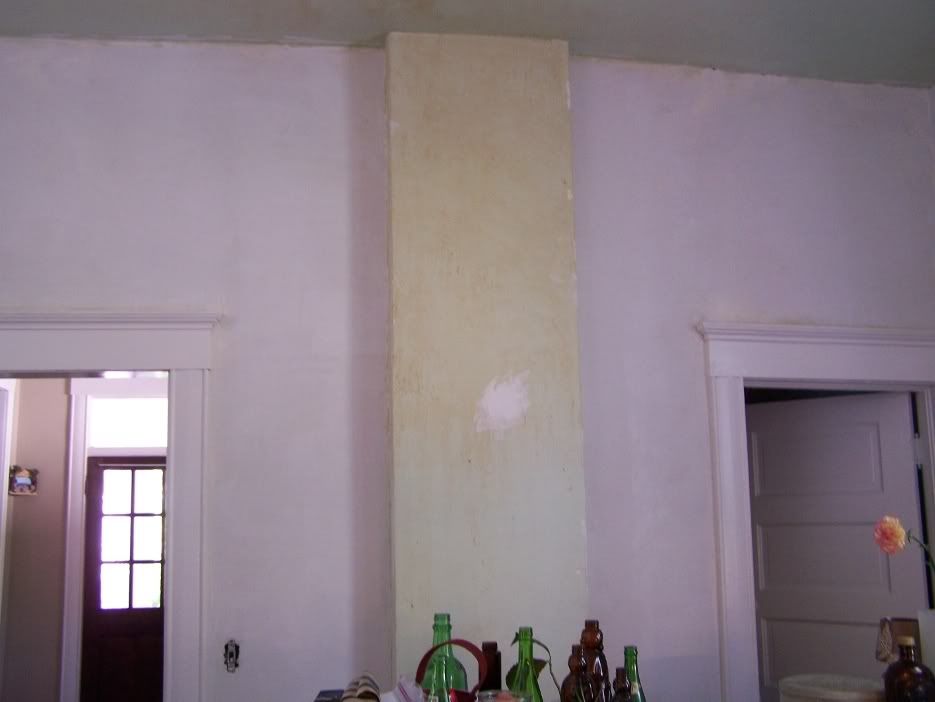 Today, I'll show you the chimney and the pot rack. The first photo here shows the chimney as it looked after the removal of the wallpaper and after we primered the rest of the walls. One original thought we had was to tear away at the plaster and expose the brick underneath but to do it only in sections. We've seen this in a multitude of places and I always have liked the old effect that it gives with the multiple mediums. However, I drove the claw end of the hammer into the plaster over and over again until I finally started to see brick. It was not an easy process and it would have taken forever to get it all cleaned off in sections. So, we scrapped that idea in favor of having Jodi tile it with our wide selection of broken tile.
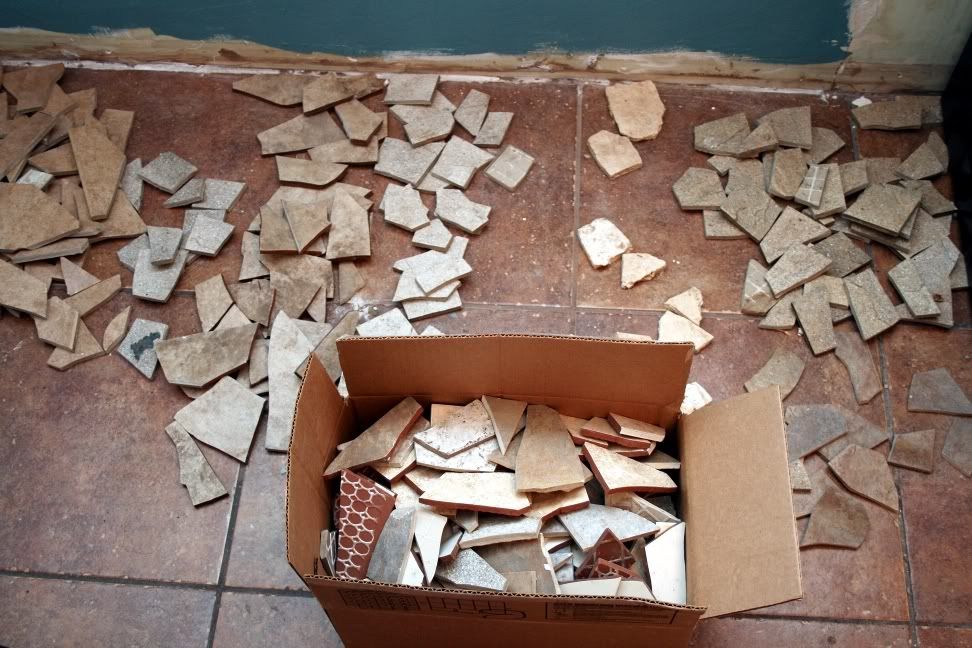
I was glad to finally have a use for this broken tile as we had moved it three times. If you've ever had to move large amounts of tile, you know that it's no fun. Add to that that the tile was broken already, so it's foreseen value was easy to be seen as zero. The tile came from a flooring store on West Battlefield. We asked them to toss their broken tile into a crate that we provided instead of tossing it into the dumpster. They agreed and said that they would call when it was full. In no time, they called and luckily they were gracious enough to use the forklift to pick up the crate and set it into the back of my truck. As much as my truck audibly contested the tiles placement it still managed to get it home alright. That was when we lived in an apartment. We moved from there into a house and painstakingly moved the tile again, but without the assistance of a forklift this time. We sat on it the entire time we lived there and then packed it up again for the trip to our current home. The guys helping us move were none too happy about the prospect of possibly throwing out there backs for a bunch of seemingly useless and extremely heavy buckets of what most people would consider garbage.
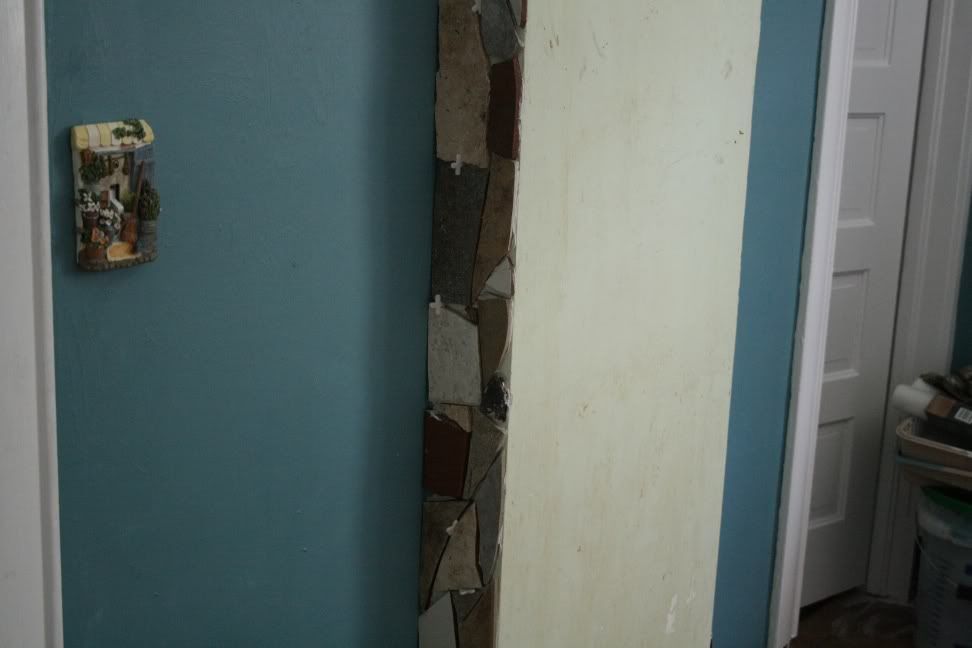
 Despite this hardship that the tile burdened us with over a couple years we still managed to hold on to it amidst the laughter of some. In the second photo you can see Jodi's start on tiling up the side of the chimney. I still wasn't sure about the whole idea being a good one until this point. Once this small section came together I could finally see what Jodi had had in her head for some time. You can also see the country blue walls that we tried out but quickly discovered was not the color we were looking for.
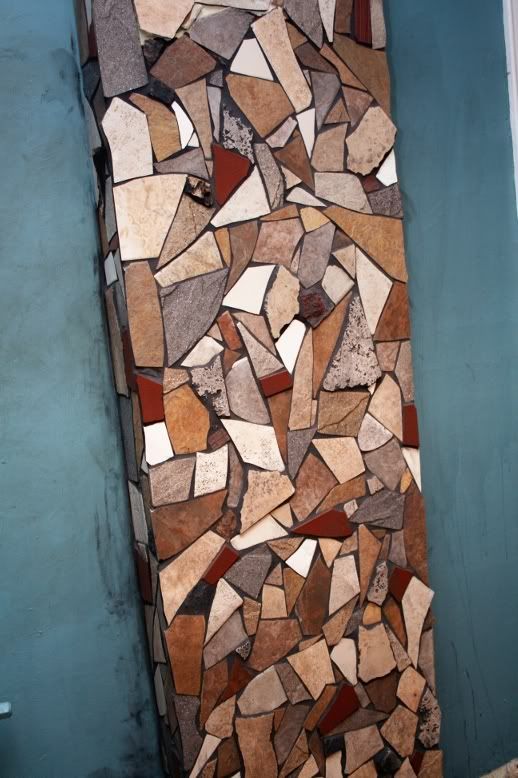 In the next photo you can see the finished product with the black grout. After that is the pot rack that we built. Never mind the half-way done chimney tile project behind it. Apparently, my story blogging isn't always done on a linear time line. Anyway, we forgot to take photos of it during the building process so I only have the finished product photo. It's simply made out of dowel rods, 2x4's, some scrap 1/4" plywood, and S-hooks. It was cheaper to build this than to purchase one. The biggest benefit to building it, though, was having the ability to move the hooks. Everyone I saw in stores and online were seriously lacking in both the quantity of hooks and their ability to move them around on the frame.
 Stay tuned for the next installment of "Kitchen Remodel" where I'll be covering DEMOLITION (spoken like a tractor pull radio advertising announcer), window installation, wiring, plumbing, and drywalling. If that will all fit in one blog. Ciao.
Continued on Part Four.